Going through the process of choosing and ordering your new sails is an exciting and fun experience. By browsing this website, you can indulge in exploring all the different options. Think about what you want to have in your new sails or discuss the possibilities with us. To get a first idea, fill out the form “Get a quote” from this website, add any questions you might have – and the ball starts rolling.

RIG DIMENSIONS ARE NOT SAIL DIMENSIONS
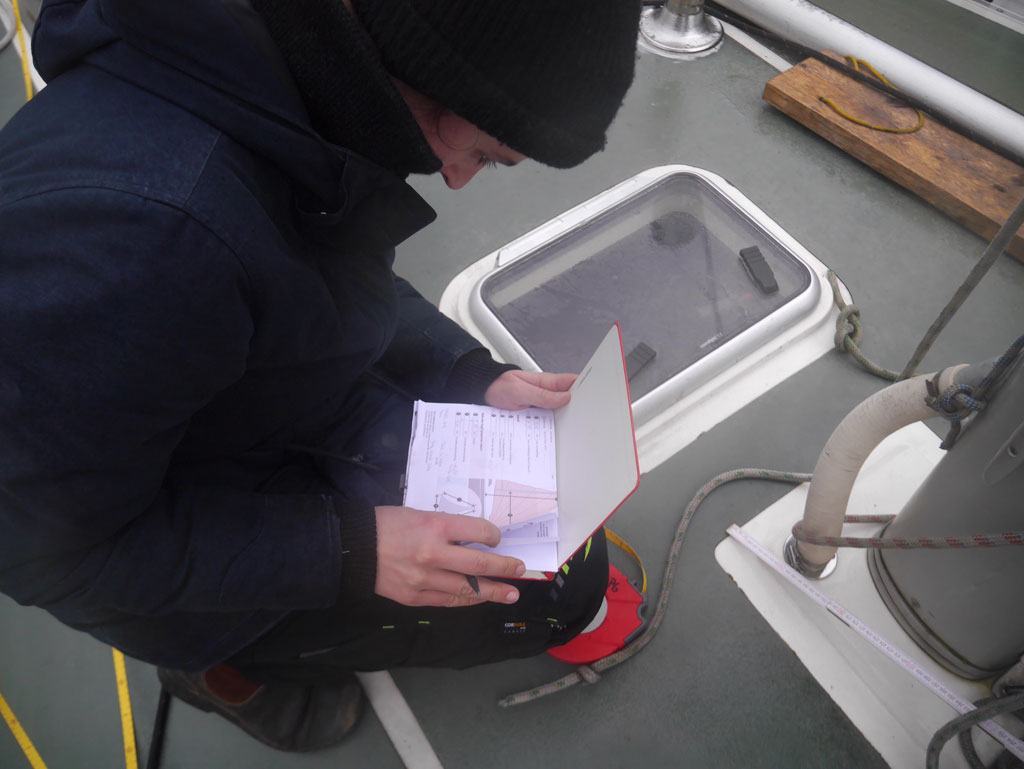
For the initial quote fill out the form from this website. You will notice that you will need to enter the I, J, P and E measurements (explained below). You can measure them yourself or, strictly for the quote, find them on the internet on sites like, for example, sailboatdata.com. Or, if your boat has a full racing certificate where all these measures will already have been taken, you can copy these from there. The rig measurements are used by our sail designers to actually design the sail with its final dimensions.
- I = Height of headstay termination above deck
- J = Horizontal distance between the headstay termination on deck and the front of the mast
- P = Vertical distance between black bands on the mast, or the maximum luff length of the main
- E = Distance along the boom, either between black bands or the maximum foot length of the main
- PY & EY are similar to P & E, but are the mizzen dimensions on a yawl or ketch rig
Sails are defined as follows. The luff is the leading edge of the sail. The leech is the trailing edge. The foot is the bottom edge. Jibs and Genoas have a Luff Perpendicular (LP) that is the perpendicular distance from the luff to the clew. Headsails are usually called Genoa I, II or III (from largest to smallest, a Genoa III can also be called a working jib). Which may be similar to a “blade jib” or a “Solent jib”, all of which are headsails with very little or no overlap beyond the mast. The LP measure determines the amount of overlap, given in percentage, hence the terms like, for example, “130 percent Genoa” (which would overlap by 30% of LP), or “100 per cent” which would be in effect non-overlapping. If all of this sounds a bit confusing, don’t worry. If the measurements are right, the sail does not worry at all about what it is being called…
HOW TO MEASURE
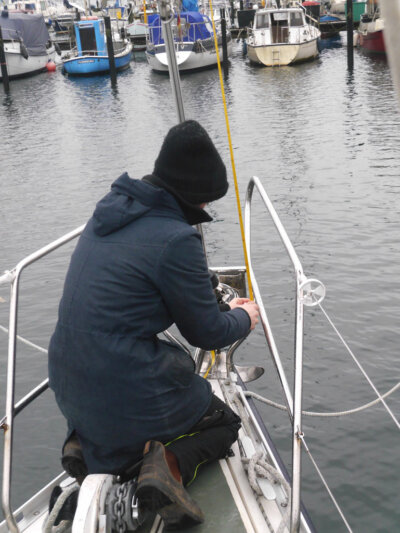
This is a self-explanatory and straightforward process that only requires a bit of care. You will need a sports type soft reel tape measure with a loop at the end so that you can attach it to a halyard. And it will need to be long enough for the size of boat – for example, for a 37-footer, the maximum length measured (“I”) was 48.23 feet. Choose or wait for a fine day to take your measurements, not too windy and preferably dry and not too cold, as you need to work carefully and take your time.
Instead of measuring the rig, taking the dimensions off your old sails is another option – but only second-best. Your old sails may be blown out and stretched so will very probably not fit perfectly any more. Or they might not have been made to the best possible design in the first place. If you can choose between both options, it is always better to measure the rig as explained here.
PRACTICAL HINTS
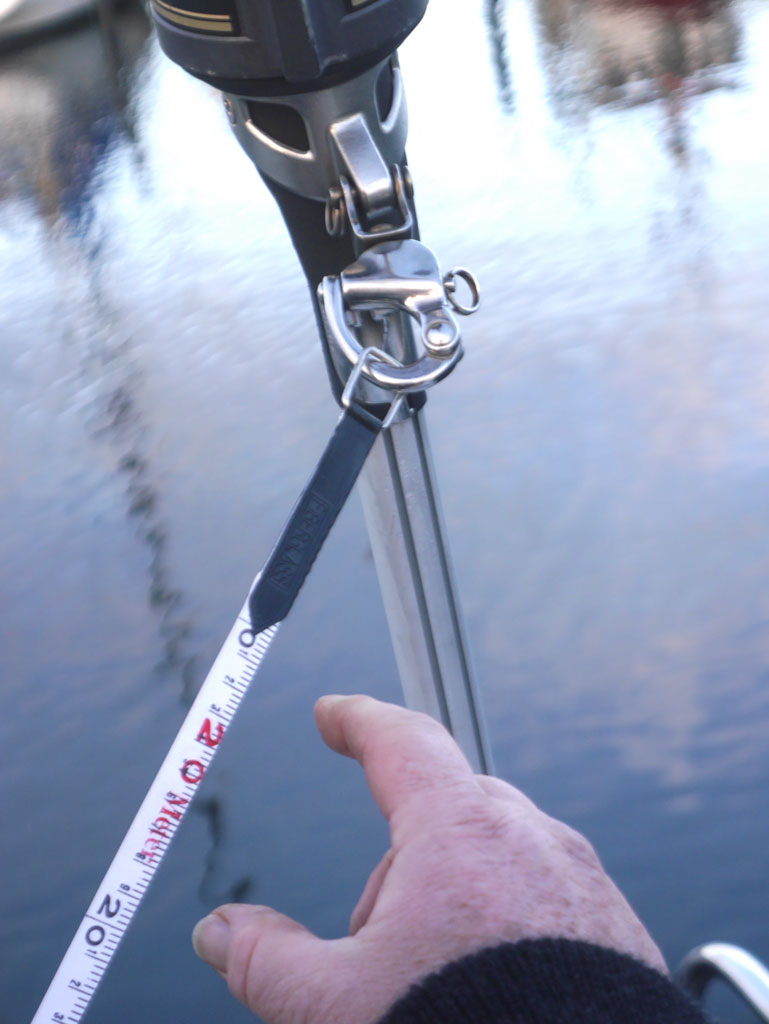
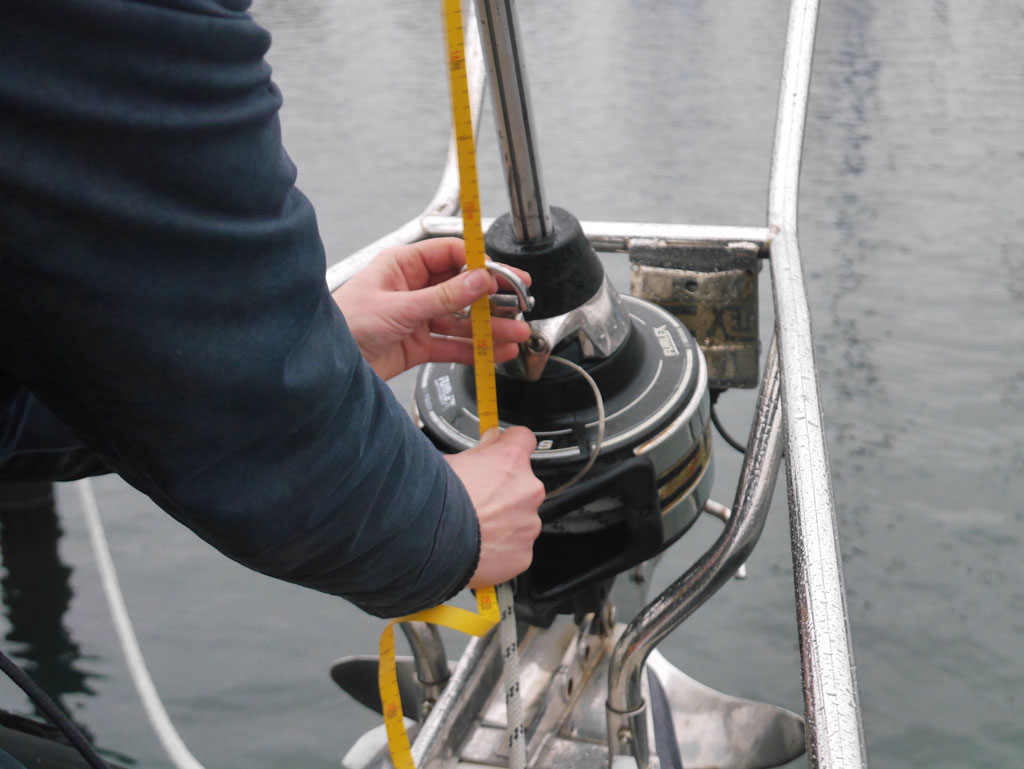
Check the zero setting on your tape measure. A soft reel type tape measure has a loop of some kind at the end which is practical to attach it to the halyards. Do check however, if the end of the loop actually also is the end (the zero point) of the tape measure or if you need to make allowances for that.
Always tie a downhaul line to the halyard along with the tape measure so that you can retrieve the halyard even if the tape should break. Which could happen if you haul down on the tape itself too enthusiastically! For taking rig measurements (I or J), pull the tape measure up as far as it will go.
Always pull the tape measure tight.
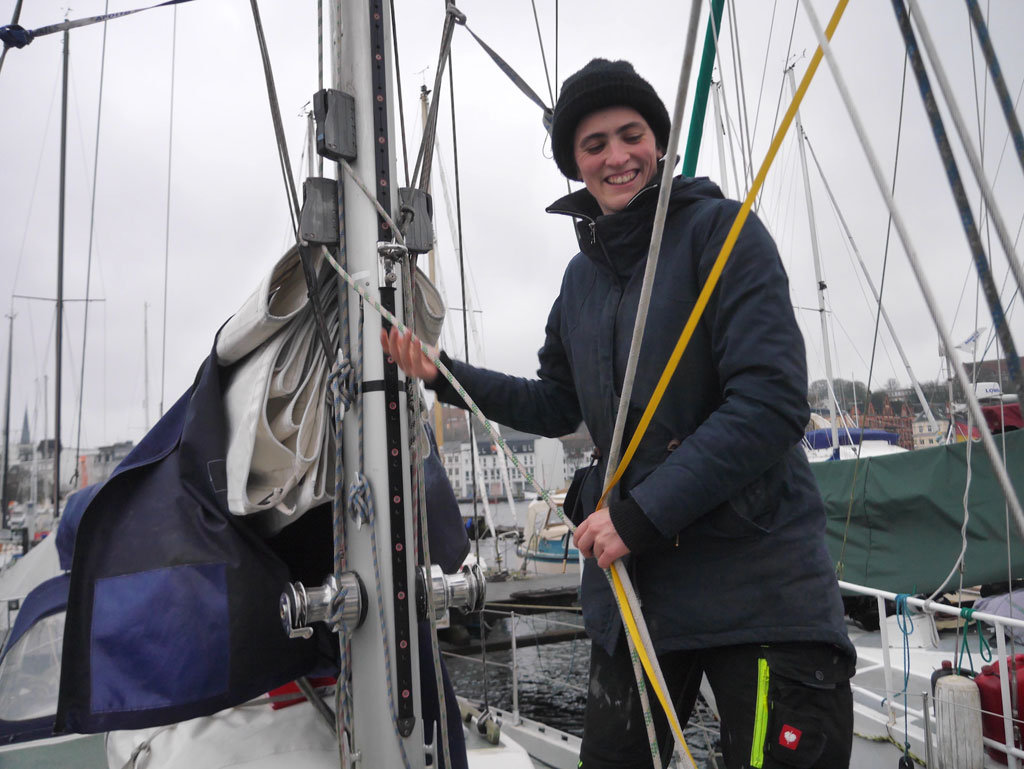
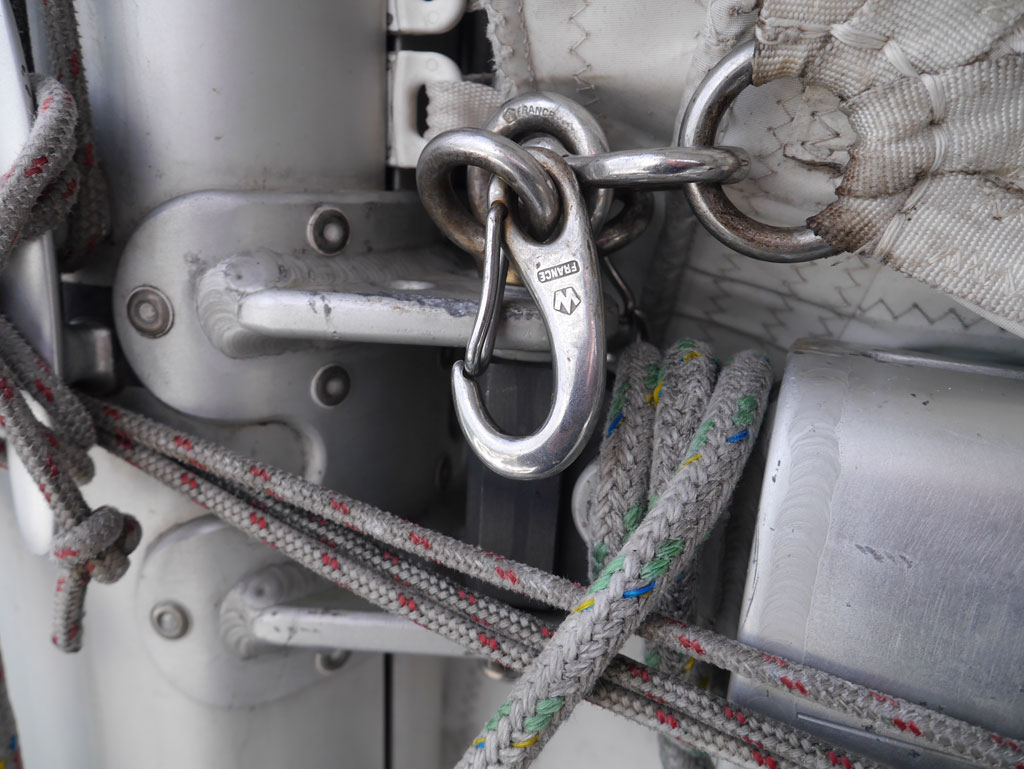
If in doubt, take more than one measurement and explain this on the form. Also take photographs of the fittings and arrangements: Furler, boom goose-neck, reefing line attachments, etc. One image often says more than a thousand words!
MEASURING THE FORESAIL
When taking a sail measurement from the tack, make sure the shackle on which the sail will later be attached is pointing up (as it will do when the sail is set) for the measurement, not lying horizontally which will give a wrong measurement.
Also measure carefully the position of both ends of the sheeting track on deck to make sure the track has the necessary length for the sheeting car to be placed so that the sheet will have the correct angle to the clew of the new sail. Not only the length of the foot, also the height of the clew above tack determines this. Some cruising sailors prefer a high-cut clew of the sail for a less obstructed view to ahead and to leeward so if this is the case, you will also have to note the height of the clew. Together with the track measurements, the sail designer then can determine if it will work with the existing track.
MEASURING THE MAINSAIL
The mainsail is “easier” to measure as it is more specifically defined by length of luff and foot. Another important measurement is the distance from the aft end of boom to the backstay, or from the mast to backstay, to determine the possible amount of roach.
Also check the reefing line attachments on the boom. If these are fixed in position, the sail designer will need the distance of each from the tack so that the reefing points in the mainsail can be placed at the corresponding height.
MORE DETAILS
Apart from the basic rig dimensions as described above, there are a number of important details to make your sail fit perfectly. Again, you will find them all on the form. These are, for the mainsail, details of the luff sliders, of the foot (loose-footed or with the foot attached to the boom), goose-neck and tack details. Or the height of mast gate for sliders above tack. If there are any concerns, taking photographs will help a lot. For the headsails detail information are for the diameter of the lufftape, colour of UV cover, to be placed on either port- or starboard side.
And if there are any questions along the way, never hesitate to contact us. We are here to help and always love to hear from you!


